Being an electrician involves a fair bit of travel. Lately, on the long commutes between jobs, I’ve been really getting into Podcasts. I find that listening to people is a great way to pick up a surface-level understanding that I never had before. Judging by podcasts’ global popularity I am not the only one who enjoys listening and learning in their downtime.
How is this relevant to the question, what does an electrical safety check involve in the UK? Although carrying out an electrical safety check takes many years of training and experience to get right, I thought that providing a basic overview of what is happening is a good way for customers to arm themselves with a little knowledge that they may find interesting but also helpful.
This 10-step EICR test procedure guide for customers is designed to give homeowners a little insight into what is taking place while the inspection is being carried out. We’ll avoid technical jargon as much as possible but hopefully, when you see the power go off and the electrician going around with a test kit in hand jotting down numbers, you’ll have a better understanding of what they are actually doing!

What Does An Electrical Safety Check Involve?
The 10 steps involved in an electrical safety check are:
- Visual inspection
- Convo with customer
- Incoming supply checks
- Consumer unit inspection
- Insulation checks
- Ensure cables are travelling from A to B uninterrupted
- Check circuit breakers operate quickly enough
- Ensure metal pipework is protected
- Check all functions as it should
- Hand over report and talk through!
Whilst this is a very simplified version I think it’s important to break complicated topics down into easily digestible chunks so that customers can have a surface-level understanding of what is happening in their homes whilst the electrical safety check takes place. We’ll briefly look at each point below in more detail.
Step 1. Visual Inspection Of Everywhere
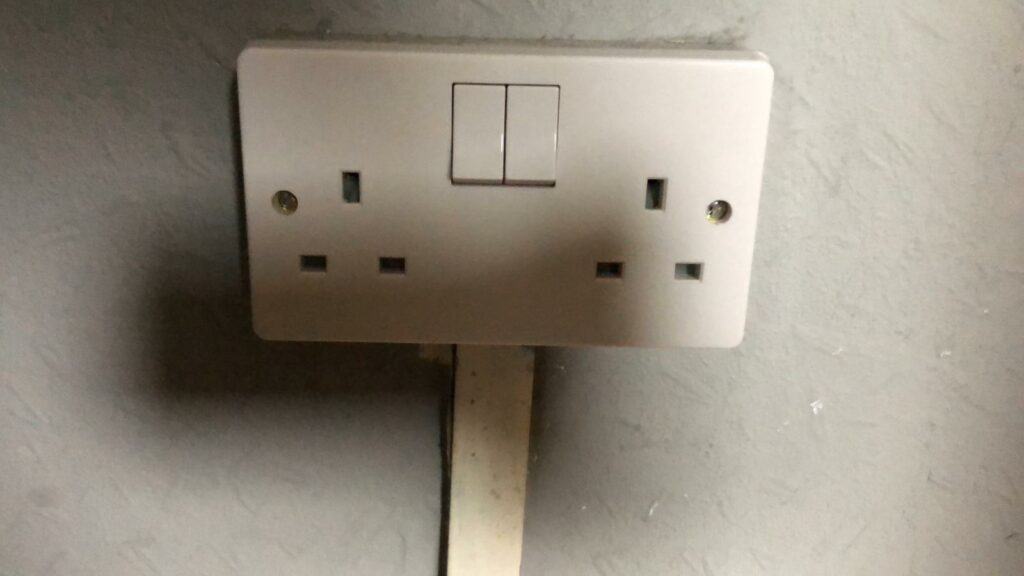
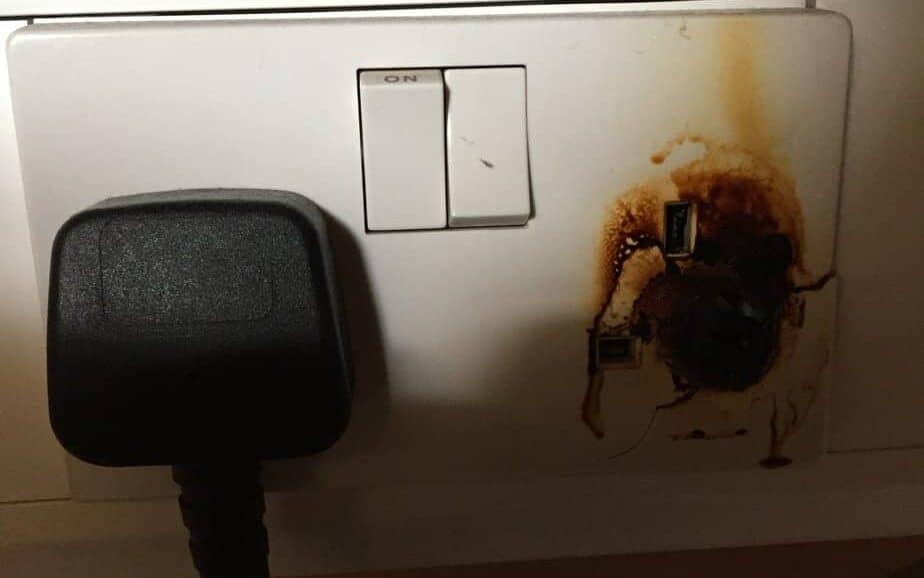
One of the most critical parts of the test process is to visually inspect all the electrical outlets around the home. It’s amazing how much information can be gained by looking at the overall standard of the installation. If the sockets, switches, fuse board etc all look tired and dated this is a good indication that some issues are likely to be thrown up. Any burning or scorch marks on outlets are another tell-tale sign that the electrical circuits are likely to fail the inspection.
Step 2. Conversation with Customer
No one knows home like the people who live in it. The electrician will want to have a conversation to find out about any issues the customer themselves has come across. This is a great opportunity to point out any lights that don’t operate properly or little quirks that we come to accept and live with but can be sorted during the testing.
Step 3. Incoming Supply Checks
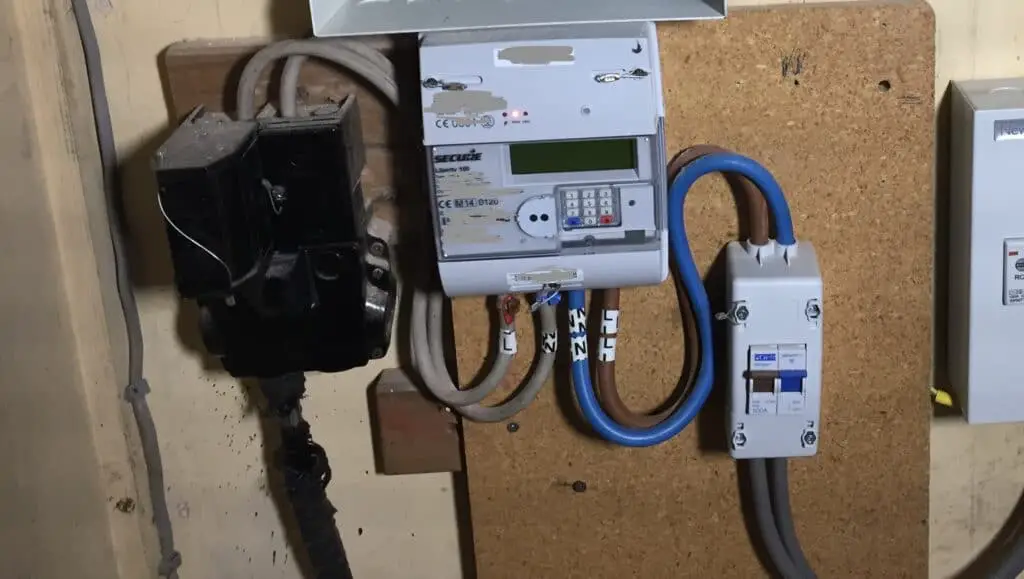
An electrical safety check starts at the beginning of the electrical installation (ie the point where the power enters the customer’s home) The first thing to check is that the cables, meter and isolators are all in good condition. An electrician is not allowed to open the meter or pull the main fuse (without training and certification from the distribution company) Any faults at this stage will be reported to the company that sends you your electric bill.

Step 4. Consumer Unit (Fuse Board) Inspection
The consumer unit is the little box of tricks that contains most of the circuit protection. It’s where the main power coming into your home gets split up and distributed to the different circuits around the property. Checks on the consumer unit involve making sure that the cables are the right size for the circuit breakers.
Without getting technical a simple explanation is:
- If a shower needs 40 amps to operate, a large cable size is used. If a light needs 6 Amps we use a smaller cable size. If the small cable was placed on the big circuit breaker (ie we put a little cable on a circuit breaker rated at 40 amps) the cable would overheat and catch fire before the circuit breaker operated.
Technology is always improving in this area and the regulations are constantly changing. Having a fuse board upgraded is a great way to keep the home as safe as possible.
Step 5. Insulation Checks On The Cables
The copper that carries the current within the cable is insulated (usually in some sort of PVC material) so we can get it from A to B without anyone getting shocked or the current disappearing off where we don’t want it to go. The next stage is usually to check this insulation hasn’t been compromised.
- In a very brash explanation, electricians send voltage down the cable and measure the leakage that occurs. No leakage means the cables are ok. A great method as most of the cable is buried out of sight in the walls and ceilings!
Ensuring that the electrician has access to all the electrical accessories plugged in is a great way to prepare for a safety inspection as all the items, such as TVs, wifi routers etc will need to be unplugged to prevent any risk of damage!
Step 6. Ensure the Cables are Getting from A to B Uninterrupted
The technical lingo for this is continuity testing. To put it simply the electrician is testing to make sure that the cable leaves at point A (often the consumer unit) and arrives uninterrupted at point B (often a socket outlet, light fitting etc).
I don’t really want to venture into why these are super important for testing especially on ring mains (ring mains are how we typically wire socket outlets in the Uk) For those interested who want to take a deeper dive, just search for ‘ring main continuity testing’

Step 7. Making Sure the Circuit Breakers will Operate Quickly Enough
We mentioned circuit breakers earlier on. These are most often found in the consumer unit and depending on the age of the unit can range from simple fuses up to modern MCBs (Minature Circuit Breaker) and RCDs (Residual Current Devices).
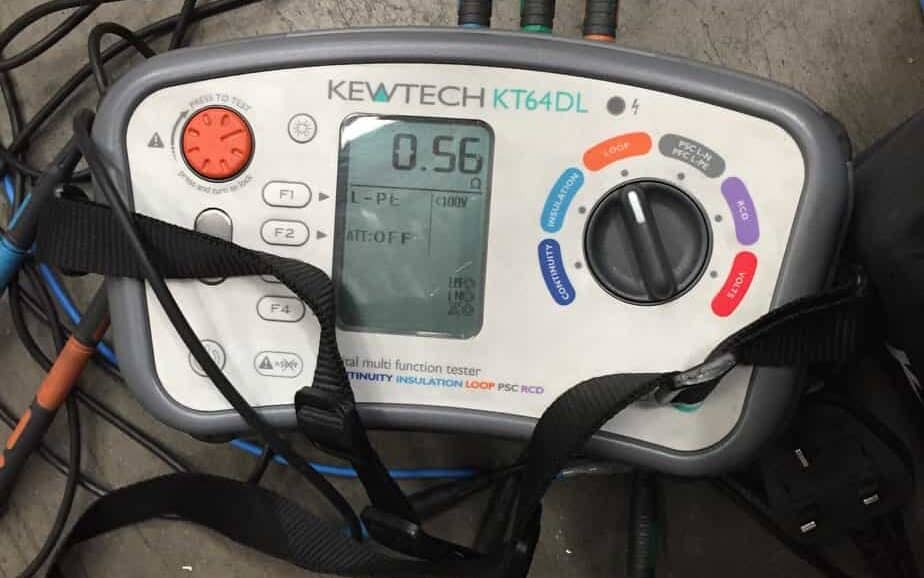
Making sure that these circuit breakers will recognise the fault and operate in time, cutting the power before the cable overheats and catches fire, is a vital part of the EICR test procedure. In general, 0.4 seconds is the time it must operate in. We measure a figure called Zs value and then compare the result against regulation published max Zs values to know if the protective device complies. If it doesn’t it is a serious fault that will need to be rectified as soon as possible.
Step 8. Check the Protection on Gas Pipes, Water Pipes Etc
Metal is a great conductor of electricity and there is lots of metal hiding within our homes. The most common type is the pipework such as water and gas pipes that transport these throughout the home. A process called bonding is used to make sure that all these pipes are at the same potential and prevent any nasty shocks.
This bonding will be checked as part of the electrical safety check, any errors found can be a bit of a pain to sort out as the bonding cable often runs from the consumer unit to where the water enters the house (usually under the kitchen sink) If the consumer unit is a long way away from the water pipe getting from A to B can mean lifting a few floorboards to find a route through
Step 9. Check Everything Functions as it Should
All these advanced tests using the latest measuring equipment mean nothing if there are parts of the electrical circuits not functioning correctly. Making sure that switches etc are all working properly and replacing anything that isn’t is all part of what’s involved in an electrical safety check. This is a great opportunity to point out any known faults and get them sorted!

Step 10. Hand Over Certificate and Talk Customer Through It
There’s nothing worse than having a piece of paper thrust into your hands without someone taking the time to explain it. This is especially true in the event of an unsatisfactory rating on the inspection report. All good electricians will take the time to talk through the inspection report and discuss the next steps if repairs are needed.
Remember that an inspection is a check on the systems and repairing faults will require a new quote (except for easy fixes or dangerous problems (Code 1s) that cannot be left unrepaired by law) No damage should be caused to the property throughout the testing process.
Final Thoughts
That 10-step EICR procedure will have hopefully given customers a better idea of what an electrical safety inspection involves in the UK. I fear I got into the weeds technically a little bit in places but I tried my best to make it as easy reading as possible.
Of course, this is a simplified version and is not meant as a guide for electricians or homeowners to follow to carry out the inspection. It goes without saying that electrical safety in our homes is so important that only trusted qualified local electricians should be used to check for dangers and to carry out any work.

